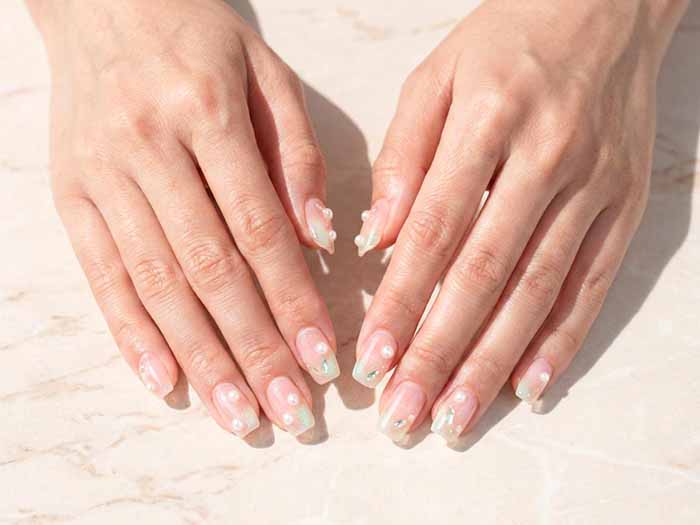
I remember the first time I watched a technician sculpt a nail from a single bead of resin. She didn’t use tips or forms. Just a brush, a bead of product, and her steady hands. Within minutes, she had created a perfectly shaped, structurally sound extension that looked like it grew out of the natural nail bed.
That was my introduction to resin nail sculpting—a technique that has become my preferred method for creating strong, natural-looking enhancements.
What Is Resin Nail Sculpting?
Resin nail sculpting is a technique that uses a thick, brush-on gel (often called builder gel or sculpting gel) to create a nail extension directly on the natural nail. Unlike applying pre-formed tips, resin sculpting involves building the nail from scratch using a form placed under the free edge.
The key component is the resin gel—a viscous, self-leveling material that cures under a UV or LED lamp. It is available in various viscosities, from thin self-leveling gels for natural-looking overlays to thicker, more viscous gels for sculpting extensions. Unlike acrylics, which harden in air and have a strong odor, resin gel is odorless and remains workable until you cure it under the lamp.
The result is a lightweight, durable, and natural-looking extension that moves with your natural nail.
Essential Tools and Materials
Resin gel (builder gel). The foundation of the system. Choose a gel with the right viscosity for your needs. A self-leveling gel is ideal for beginners, as it smooths itself out with minimal effort.
UV/LED lamp. Essential for curing the gel. LED lamps cure faster (30-60 seconds); UV lamps take longer (2 minutes). Ensure your lamp is compatible with your chosen gel system.
Nail forms. Paper or metal guides placed under the free edge to create the extension. Paper forms are flexible and conform to the natural curve of the nail. Metal forms are reusable and sturdier.
Brushes. A high-quality synthetic brush is essential for applying and sculpting the gel. The brush holds the product and allows for smooth, even application.
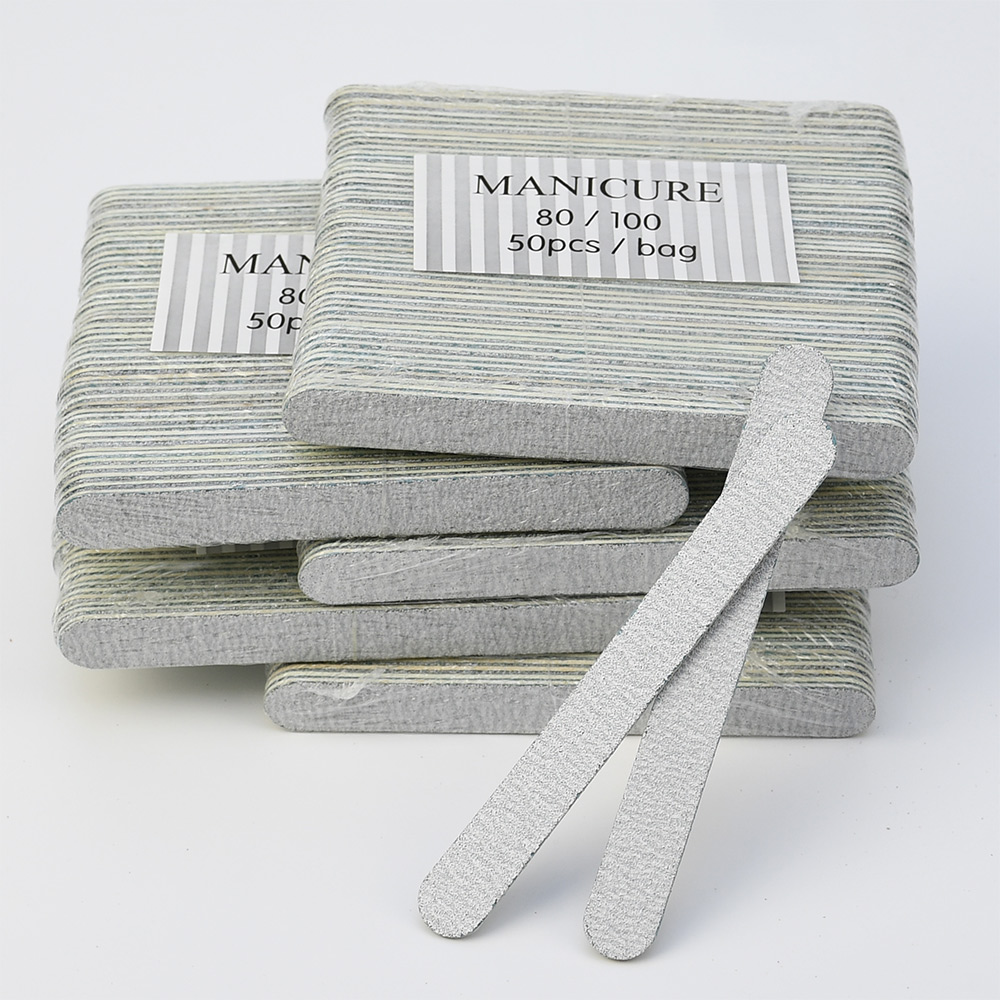
Files and buffers. A coarse file (100-150 grit) for shaping and a fine file (180-240 grit) for smoothing. A buffer for finishing.
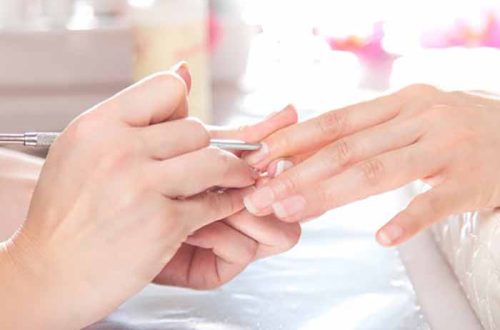
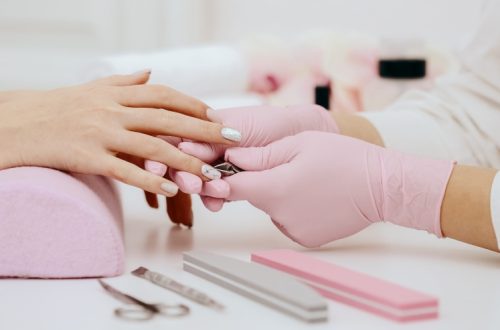
Cuticle pusher and nippers. For prepping the nail bed.
Lint-free wipes and cleanser. For removing the inhibition layer.
Primer and dehydrator. To prepare the natural nail surface for adhesion.
Step-by-Step Guide to Resin Sculpting
Step 1: Prepare the natural nail. Start with clean, dry nails. Remove old polish, push back cuticles, and lightly buff the nail surface to remove shine. Wipe each nail with a dehydrator or rubbing alcohol to remove oils and dust. Apply a primer to enhance adhesion.
Step 2: Apply the form. Choose a form that matches your nail size. Slide it under the free edge, aligning it with the natural curve of your nail. The form should be positioned so that it creates a smooth, even extension. For paper forms, press the adhesive tabs to secure it in place.
Step 3: Apply the resin gel. Using your brush, apply a thin layer of resin gel to the natural nail and the form. This is the “slip layer” that helps the next layer adhere. Do not cure yet.
Step 4: Build the extension. Place a bead of resin gel on the area where the apex (the stress point) will be. Gently push it toward the cuticle and pull it toward the free edge. Use the brush to shape the sidewalls and define the silhouette. The gel should be thicker at the apex and thinner at the cuticle and free edge.
Step 5: Cure. Cure the gel under your UV/LED lamp for the manufacturer’s recommended time. For LED, this is typically 30-60 seconds; for UV, 2 minutes. If the gel feels warm, that is normal—it is the curing process.
Step 6: Remove the form. Gently slide the form out from under the nail. The extension should hold its shape.
Step 7: Apply a second layer. For added strength, apply a second, thinner layer of gel over the entire extension. Shape and cure again.
Step 8: File and shape. Use a coarse file to refine the shape, smooth the surface, and create the desired silhouette. Switch to a fine file for smoothing.
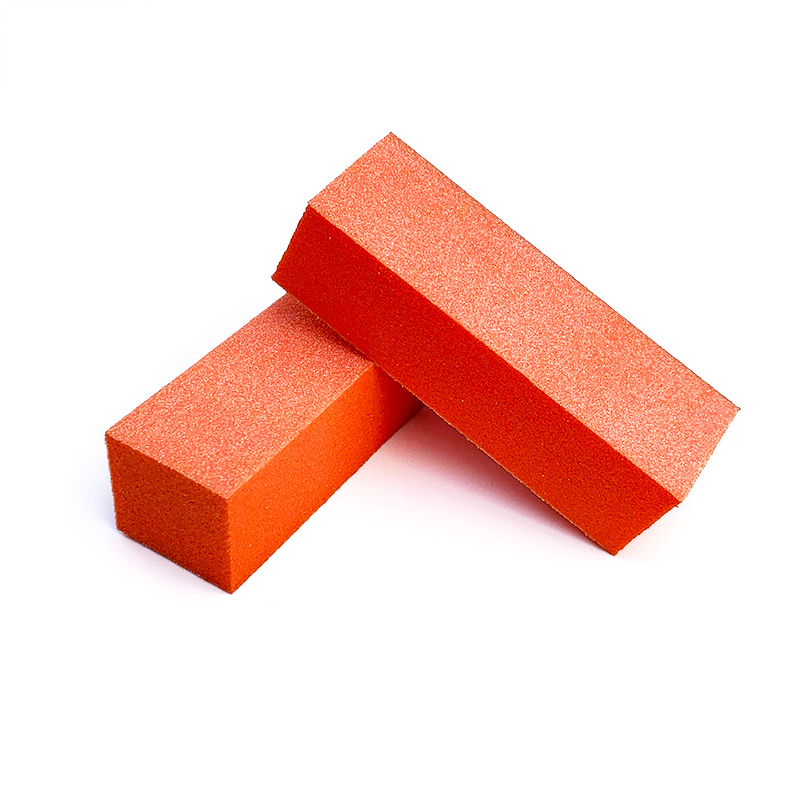
Step 9: Buff and finish. Buff the surface to remove imperfections. Apply a top coat or colour as desired.
The Advantages of Resin Sculpting
Natural appearance. Resin gel has a natural, glossy finish that mimics the look of healthy nails. The self-leveling properties create a smooth, even surface.
Lightweight and flexible. Resin gel is lighter and more flexible than acrylics, making it more comfortable to wear and less prone to breakage.
Odor-free. Unlike acrylics, resin gel has no strong chemical smell, making it more pleasant to apply and wear.
Custom fit. Because the nail is sculpted directly on the natural nail, the fit is seamless and natural.
Strength and durability. When applied correctly, resin gel is strong and chip-resistant, lasting 2-4 weeks with proper care.
Gentle on natural nails. Resin gel can be soaked off with acetone, making it a gentler option for removal.
Versatile. Resin gel can be used for overlays, extensions, and repairs.
The Bottom Line
Resin nail sculpting is a versatile, durable, and natural-looking enhancement technique that offers a custom fit and a comfortable feel. With the right tools and a little practice, you can create stunning, long-lasting extensions that look like they grow out of the natural nail bed. Whether you are a professional or a dedicated DIY enthusiast, resin sculpting offers endless creative possibilities. The initial investment in quality products and learning the technique is well worth the results.
Read also: The Professional Nail Technician‘s Toolkit: Essential Supplies and How to Use Them


One comment on “Resin Nail Sculpting: What It Is and How to Master It”