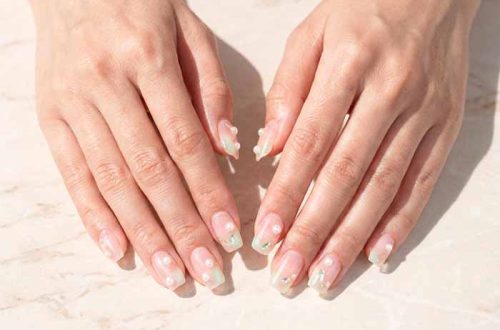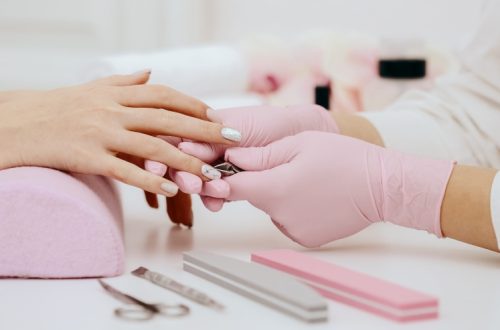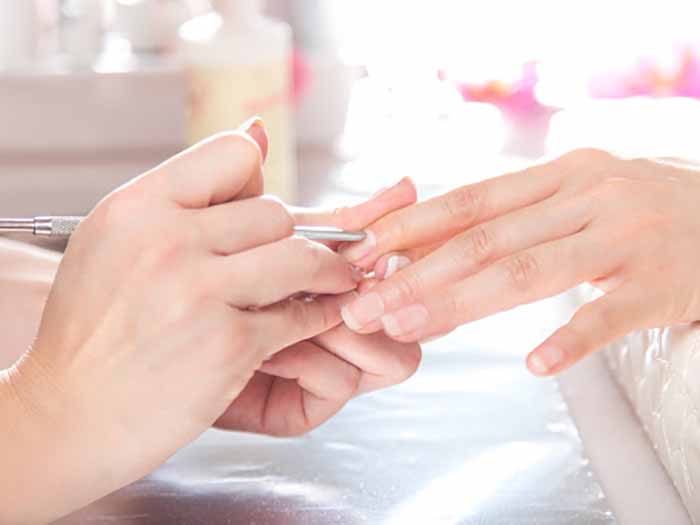
The American manicure is one of the most elegant and wearable nail styles you can choose. It looks similar to a French manicure, but it is softer, more natural, and more forgiving. Instead of a stark white tip against a pink base, the American manicure uses a creamy off-white or milky tip that blends gently into a sheer nude or pale pink base. The result is a clean, polished look that never feels harsh.
This guide explains why the American manicure is worth trying, its advantages and disadvantages, how to do it correctly, what tools you need, and the tips that make the biggest difference.
Why Choose an American Manicure?
The American manicure is popular because it flatters almost everyone. The soft, blended tip does not create a harsh contrast line, so it works on fair, medium, olive, and deep skin tones. It also works on short and long nails. It is elegant enough for a wedding or a formal event, but subtle enough for a conservative workplace. It pairs with any outfit and any jewellery.
It is also low maintenance. Because the tip is not sharply defined, regrowth is less noticeable. Small chips are harder to see. You can go longer between appointments without the manicure looking obviously grown out. For busy people, that is a real advantage.
Finally, the American manicure is forgiving. The blurred transition helps mask minor imperfections such as ridges, uneven nail beds, or slight staining. It gives the hands a healthy, natural glow rather than a heavily painted look.
Advantages and Disadvantages
The advantages are clear. It is natural-looking, versatile, and universally flattering. It elongates the fingers and makes the hands look polished without trying too hard. It grows out gracefully. It is appropriate for almost every occasion. And it is gentle on the nails when applied and removed correctly.
The disadvantages are minor but worth knowing. The American manicure requires a little more precision than a plain polish because you need a clean, soft tip line. If the off-white tip is too thick or too stark, the look becomes harsh and loses its softness. It may not appeal to people who prefer bold colour or dramatic nail art. And with regular polish, it still chips within about five to seven days, like any air-dry manicure. It is not as durable as gel unless you use gel products.
How to Do an American Manicure Correctly?
The process is straightforward, but the details matter.
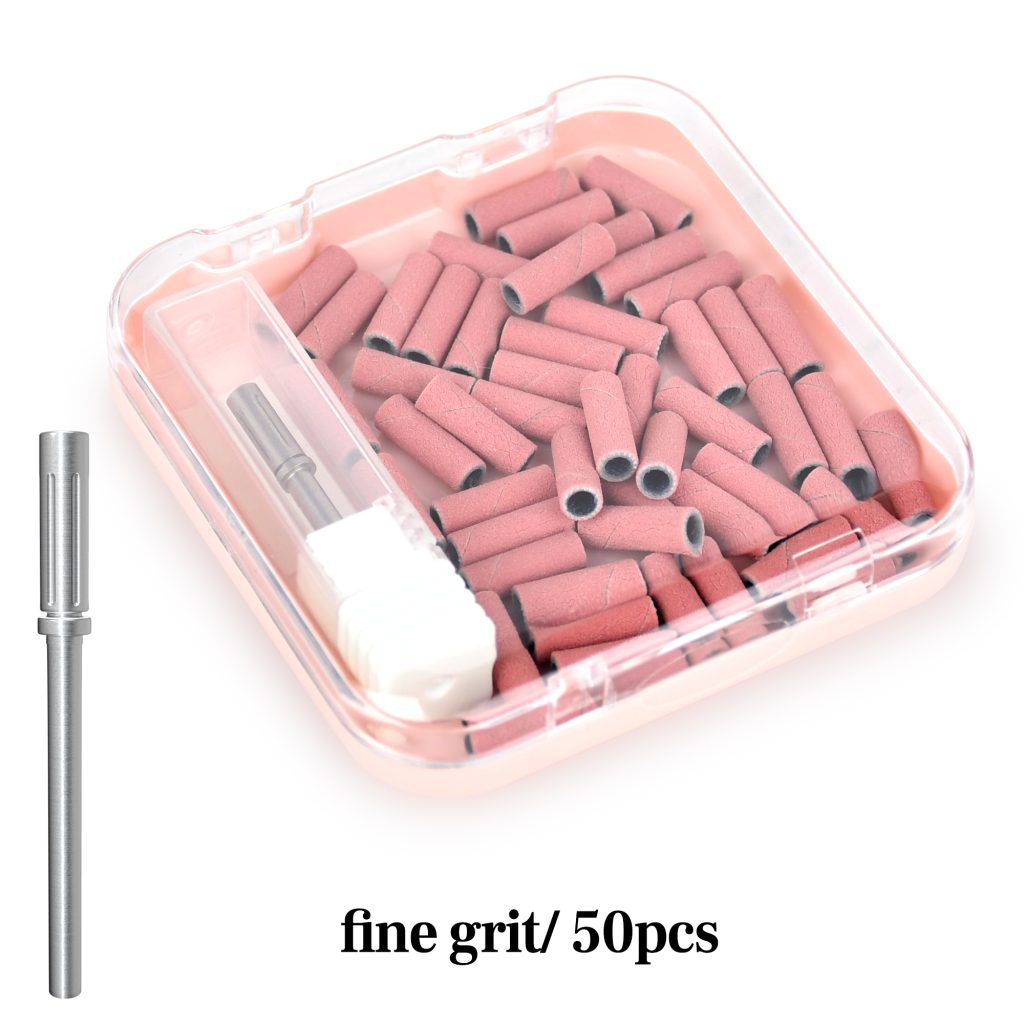
Step 1: Prepare the nails. Remove old polish. Shape the nails with a fine-grit sanding band, 180 to 240 grit. File in one direction only. Push back the cuticles gently. Do not cut living cuticle. Lightly buff the nail surface to remove shine. Remove all dust. Wipe each nail with a dehydrator or 91% isopropyl alcohol. Do not touch the nails after this step.
Step 2: Apply a base coat. Apply a thin layer of base coat. Cap the free edge by running the brush along the tip. Let it dry completely or cure if using gel.
Step 3: Apply the base colour. Use a sheer nude, beige, or pale pink. Apply one or two thin coats. The base should look natural and translucent, not opaque. Let it dry or cure between coats.
Step 4: Create the tip. Use a creamy off-white, ivory, or milky polish. Do not use stark white. Paint a soft tip across the free edge. The line can be gently curved or straight, depending on your nail shape. Keep the tip thin. Use a French tip guide or paint freehand with a fine liner brush.
Step 5: Mute the tip. This is the defining step. Once the tip is dry, apply a thin layer of your sheer base colour over the entire nail, including the tip. This softens the contrast and creates the signature American blur. If you want a stronger tip, repeat the tip colour and the sheer overlay once more.
Step 6: Seal with top coat. Apply a glossy top coat. Cap the free edge again. If using gel, cure fully and wipe away the inhibition layer.
Step 7: Clean up and hydrate. Use a small brush dipped in remover to clean the cuticle line and sidewalls. Apply cuticle oil to the nails and surrounding skin.
Tools You Need
You do not need a salon full of equipment. The essentials are:
- A fine-grit nail file, 180 to 240 grit
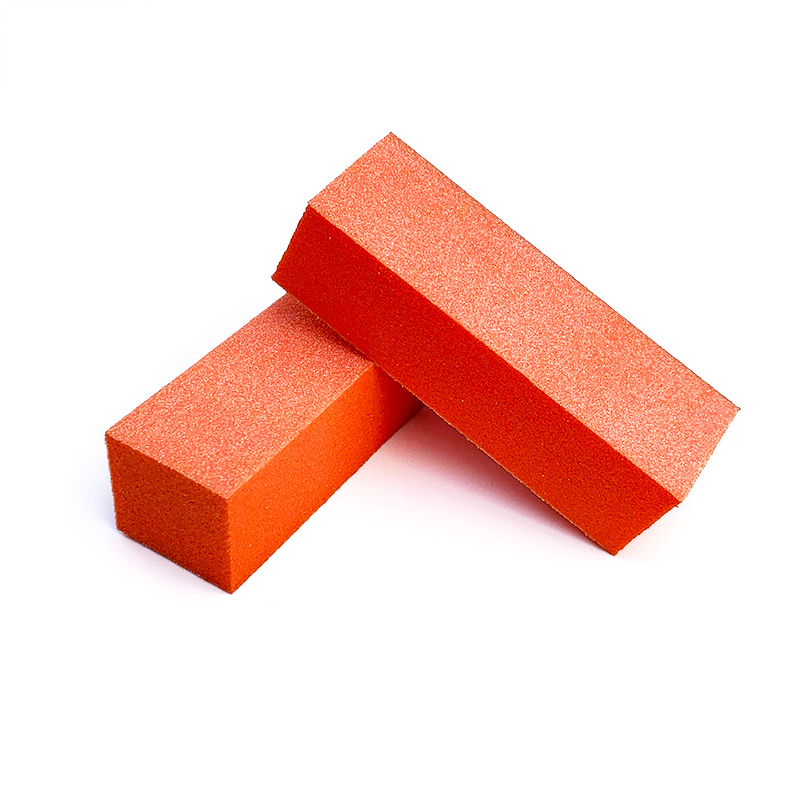
- A buffer block
- A cuticle pusher
- Lint-free wipes
- Rubbing alcohol or nail dehydrator
- Base coat
- Sheer nude or pale pink polish
- Creamy off-white or milky polish
- Fine liner brush or French tip guides
- Glossy top coat
- Cleanup brush
- Cuticle oil
- Optional: UV/LED lamp and gel products if you want a gel American manicure
Tips for an Excellent American Manicure
Choose the right tip colour. Creamy off-white, ivory, or milky white works best. Avoid bright, chalky white. The softer the tip, the more natural the result.
Keep the tip thin. A thick tip looks heavy and artificial. One thin coat is usually enough. If you need more coverage, use two very thin coats rather than one thick coat.
Always use the sheer overlay. This is what makes it an American manicure rather than a French manicure. The sheer base colour over the tip softens the line and creates the blurred, natural effect.
Work with thin layers. Thin polish dries faster, levels out more evenly, and chips less. Thick layers bubble and peel.
Cap the free edge. Run the brush along the nail tip with every layer—base, colour, tip, sheer overlay, and top coat. This seals the edge and prevents water from seeping underneath.
Keep polish off the skin. Product on the cuticle or sidewalls lifts first. Clean up with a small brush dipped in remover before drying or curing.
Check the shape. Oval, squoval, and almond shapes look especially beautiful with an American manicure. A soft shape complements the soft colour transition.
Use a good top coat. A high-gloss top coat seals the design and adds shine. Reapply a thin layer every two to three days for regular polish to refresh the seal.
For gel, cure fully. Use a lamp compatible with your gel brand and follow the recommended cure time. Under-cured gel lifts quickly.
Final Thoughts
The American manicure is a beautiful, practical choice for anyone who wants a polished, natural look. It is softer than a French manicure, easier to wear every day, and flattering on almost every hand. With the right tools, thin layers, a creamy off-white tip, and a sheer overlay, you can create a flawless American manicure at home. Whether you choose regular polish for a quick change or gel for long wear, the result is elegant, understated, and timeless.
Read also: Resin Nail Sculpting: What It Is and How to Master It